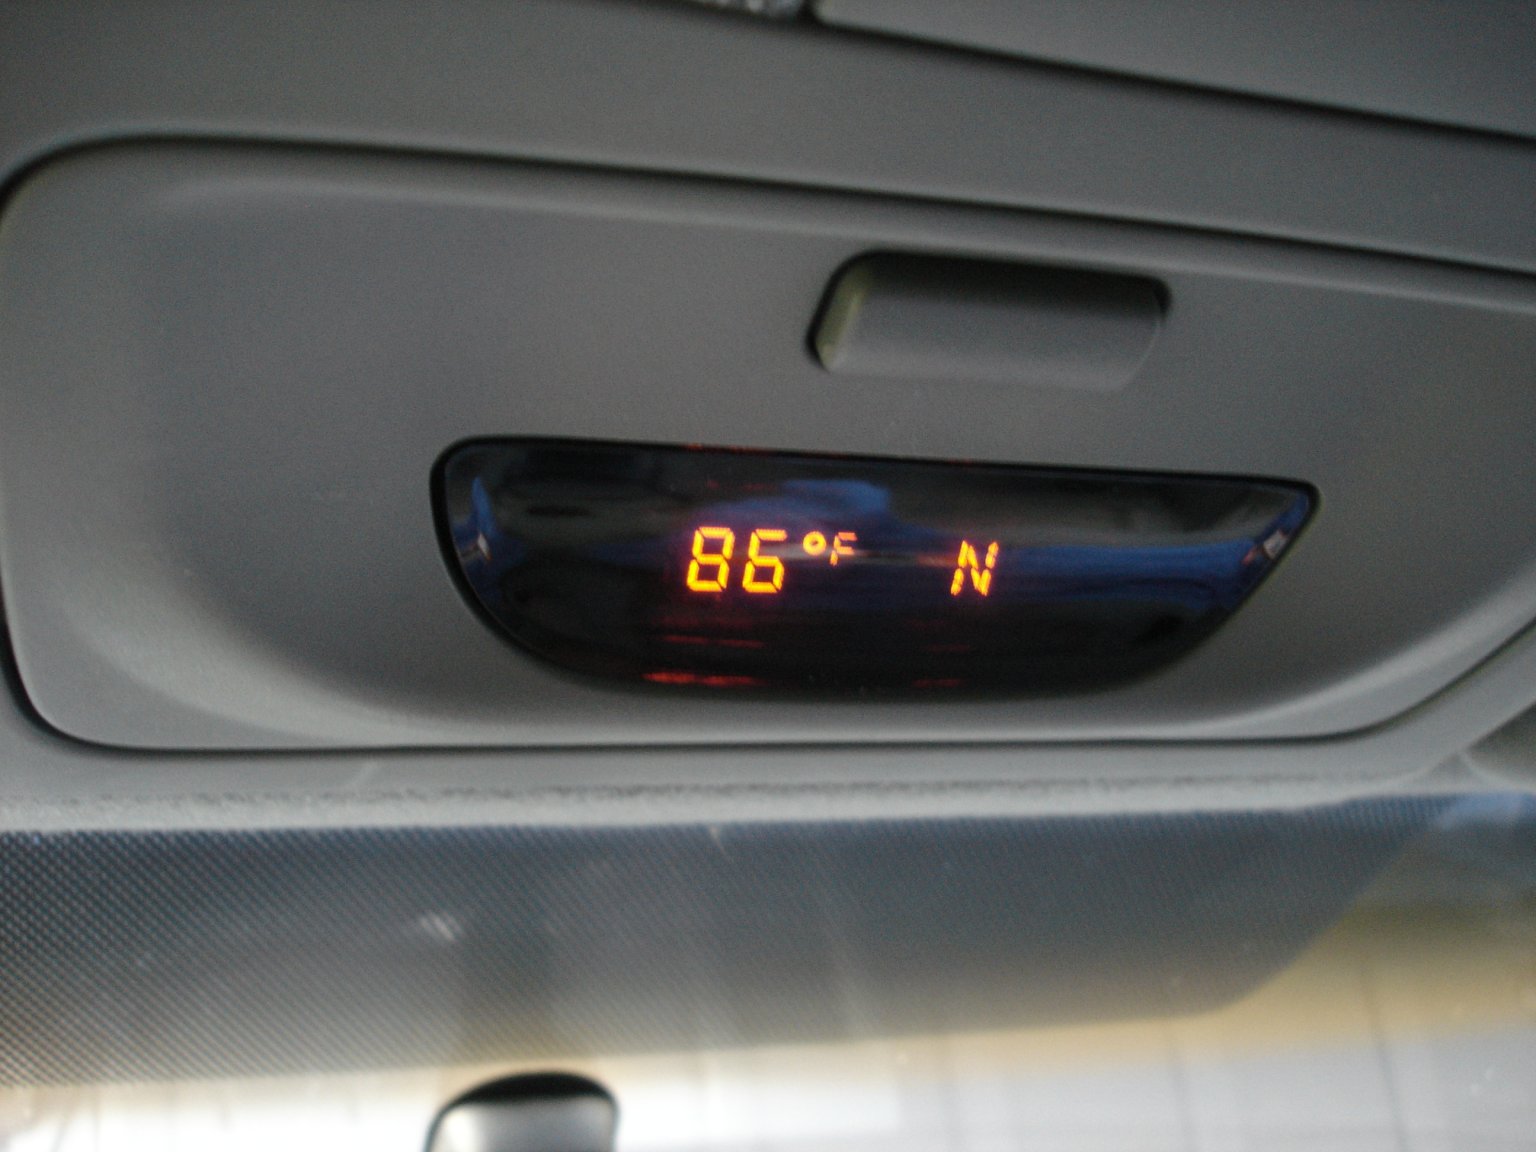
This is how the overhead temperature and compass display unit is supposed to look in my 2006 Toyota Tacoma. Unfortunately, shortly after the warranty
on the truck expired, so did the display.
This is how the overhead temperature and compass display unit is supposed to look in my 2006 Toyota Tacoma. Unfortunately, shortly after the warranty
on the truck expired, so did the display.
 I had no idea how much I depended on that compass reading, until it wasn't there any more. I do a lot of driving on unfamiliar back roads and out into the wilderness.
I am always taking mental note of which way I am going when I drive into a remote area, so I know which way to go to get back out. The compass also comes in
handy for mundane things like finding my way back to the main road while garage saling in unfamiliar neighborhoods. So I really missed that display.
I had no idea how much I depended on that compass reading, until it wasn't there any more. I do a lot of driving on unfamiliar back roads and out into the wilderness.
I am always taking mental note of which way I am going when I drive into a remote area, so I know which way to go to get back out. The compass also comes in
handy for mundane things like finding my way back to the main road while garage saling in unfamiliar neighborhoods. So I really missed that display.
I looked into the repair and replacement cost, and got a serious case of sticker shock. So I decided to try to fix it myself. A little online research
showed that I was not the only person with this problem. Apparently it is quite common and many people were grousing about it online. A few had managed
to fix it.
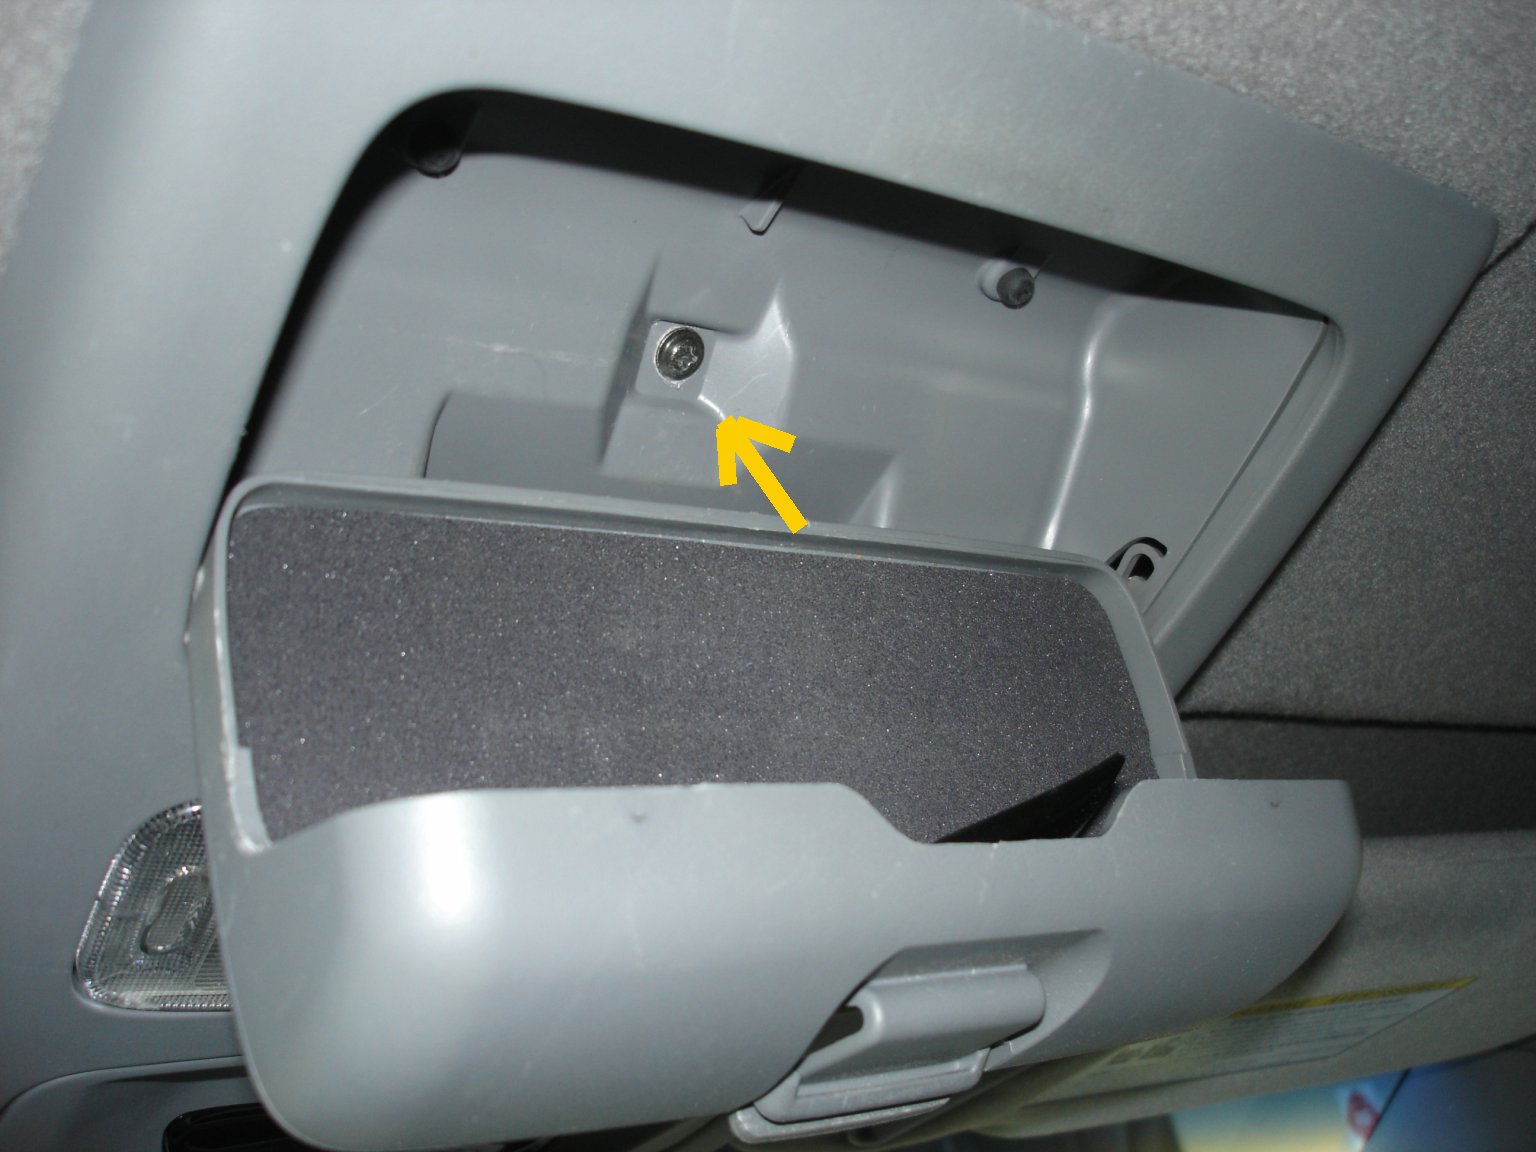
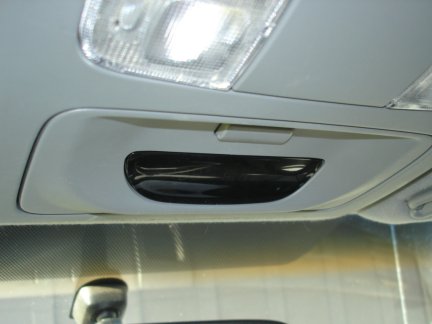
 Getting the unit out to work on it is fairly easy, once you know the trick. First remove the screw arrowed in this photo inside the sunglsses
compartment. Then pull the whole plastic assembly down until a gap opens at the front. Then get your fingers in the gap and pull
downward. It takes a little effort, but the clips that hold the whole assembly in place will pop loose. Slide the assembly forward and down until it
is free. Be careful not to yank on the wires connected to the top of the assembly. There are two electrical cables going to the assembly. They can both
be disconnected without any tools. Collect and save the little metal clips that locked the assembly into the roof brackets. You will need them for
re-assembly.
Getting the unit out to work on it is fairly easy, once you know the trick. First remove the screw arrowed in this photo inside the sunglsses
compartment. Then pull the whole plastic assembly down until a gap opens at the front. Then get your fingers in the gap and pull
downward. It takes a little effort, but the clips that hold the whole assembly in place will pop loose. Slide the assembly forward and down until it
is free. Be careful not to yank on the wires connected to the top of the assembly. There are two electrical cables going to the assembly. They can both
be disconnected without any tools. Collect and save the little metal clips that locked the assembly into the roof brackets. You will need them for
re-assembly.
The actual temperature/compass display unit is attached to the front of the assembly with three small torx screws. If you don't have the proper
torx driver, I have found that a small Allen Wrench will also work to remove the screws. The smoked plastic bezel needs to be removed to get to
the circuit board. It is attached to the circuit board by four clips that can easily be opened with finger pressure or needle-nose pliers. Be
careful, the clips are easily broken off. I speak from experience. The bezel on my display is now only being held on by three clips.
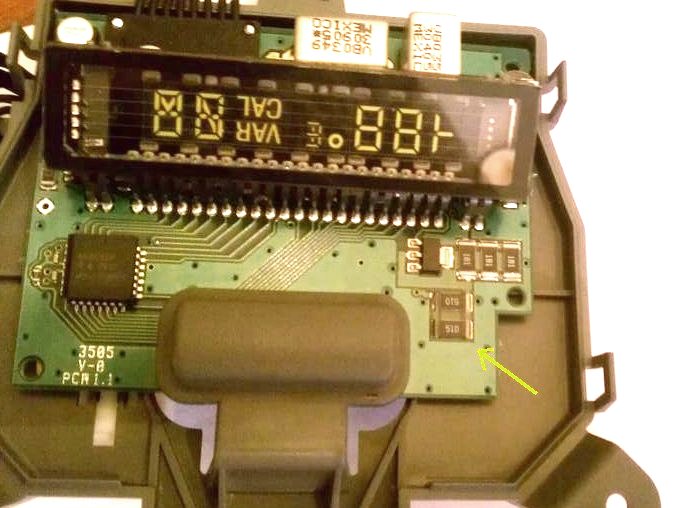
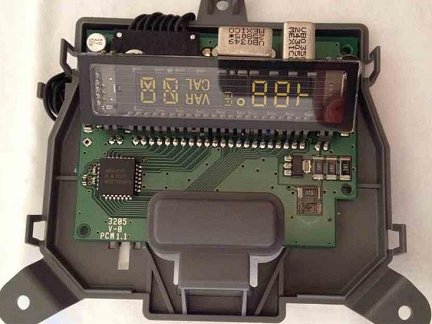
 This is a pretty poor photo, but it shows the problem area on the display circuit board. There are two large surface-mount resistors on the
lower right part of the board. They are labeled with the number 510. The problem is that these resistors get very hot during normal operation.
That combined with the display being mounted above the headliner and next to the scorching hot roof of the truck, seems to create enough heat
for the solder to soften. Flexing of the board with temperature changes eventually breaks the solder joints under one or both of
those resistors. Sure enough, after inspecting the solder joints with a loupe, I could see that one of the joints had broken loose.
This is a pretty poor photo, but it shows the problem area on the display circuit board. There are two large surface-mount resistors on the
lower right part of the board. They are labeled with the number 510. The problem is that these resistors get very hot during normal operation.
That combined with the display being mounted above the headliner and next to the scorching hot roof of the truck, seems to create enough heat
for the solder to soften. Flexing of the board with temperature changes eventually breaks the solder joints under one or both of
those resistors. Sure enough, after inspecting the solder joints with a loupe, I could see that one of the joints had broken loose.
Should be a quick and easy fix, right? Just re-solder the resistors and call it a day. Grab a cold drink and think happy thoughts
about all the money I just saved. Not so fast! I tried that, and a couple of months later, it happened again. So I re-soldered it again. A
couple months later it happened again. And so on. Eventually it failed again at a time when I was out semi-lost in the wilderness and really
could have used it. That was the last straw. No more quick fixes. It was time to do it right.
 I started by completely removing the problem resistor. In my case it was the lower one of the two. Some people have problems with both of them popping
loose. In my case it was just the lower one that kept repeatedly failing. I had re-soldered the other one the first time I attempted to repair the unit
just to be thorough, and it never given me any trouble.
I started by completely removing the problem resistor. In my case it was the lower one of the two. Some people have problems with both of them popping
loose. In my case it was just the lower one that kept repeatedly failing. I had re-soldered the other one the first time I attempted to repair the unit
just to be thorough, and it never given me any trouble.
 A little research told me that the resistors have values of 51 Ohms. Figuring in the 12V power supply, that means they are probably dissipating about 3 Watts each.
That equates to a lot of heat in such a small package. No wonder they keep failing. Who thought this design was a good idea? I decided to replace the single
resistor with three 1W 150 Ohm resistors in parallel, and extend them off the board and out into the air so they can cool by convection.
In my case, it was only one of the two resistors that kept breaking loose. Some people only have trouble with one of them. Others have trouble with
both of them. I only replaced the one that has repeatedly failed. If the other one ever fails I will replace it too.
A little research told me that the resistors have values of 51 Ohms. Figuring in the 12V power supply, that means they are probably dissipating about 3 Watts each.
That equates to a lot of heat in such a small package. No wonder they keep failing. Who thought this design was a good idea? I decided to replace the single
resistor with three 1W 150 Ohm resistors in parallel, and extend them off the board and out into the air so they can cool by convection.
In my case, it was only one of the two resistors that kept breaking loose. Some people only have trouble with one of them. Others have trouble with
both of them. I only replaced the one that has repeatedly failed. If the other one ever fails I will replace it too.
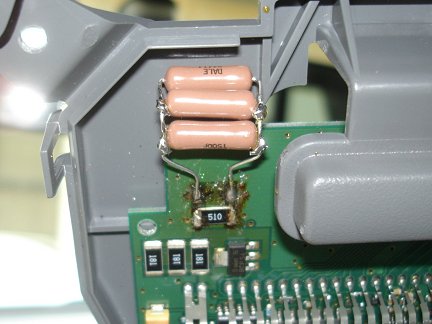 Here is a close-up of the repair. Three 150 Ohm resistors in parallel makes one 50 Ohm resistor that can handle three times the power dissipation
of the individual resistors. 50 Ohms is close enough to the 51 Ohm value of the original resistor that I wasn't worried about the difference.
Here is a close-up of the repair. Three 150 Ohm resistors in parallel makes one 50 Ohm resistor that can handle three times the power dissipation
of the individual resistors. 50 Ohms is close enough to the 51 Ohm value of the original resistor that I wasn't worried about the difference.
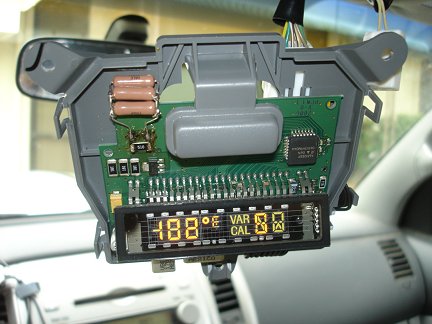
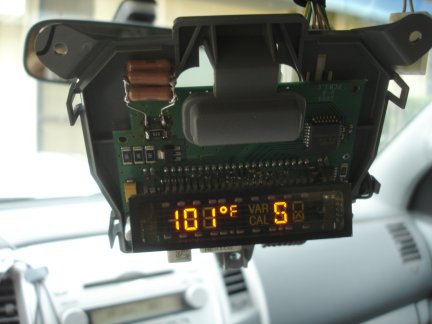 Here is a photo of the first test after the repair. I just plugged the display board into the wire harness dangling out of the
ceiling of the truck and turned on the key to see if it was going to work. And it did! Oh happy day.
Here is a photo of the first test after the repair. I just plugged the display board into the wire harness dangling out of the
ceiling of the truck and turned on the key to see if it was going to work. And it did! Oh happy day.
There it is, finally working again, and at very little cost. So far this fix has lasted longer then my previous attempts. With any luck at all
maybe it will even prove to be permanent. I hope the information on this page helps someone else fix their truck.